
A custom domain gives your community a familiar web address. If you only want to share a landing page, open Landing Page and look for Landing-page address. Eligible published pages have a Recqa-provided address. Follow the steps below to connect a domain you own.
Before you start
You need a community plan that supports custom domains and access to the domain’s DNS settings. A subdomain such as community.example.com is usually the simplest choice. Use the records displayed by your own Recqa environment.
Steps
1. Open the domain tab
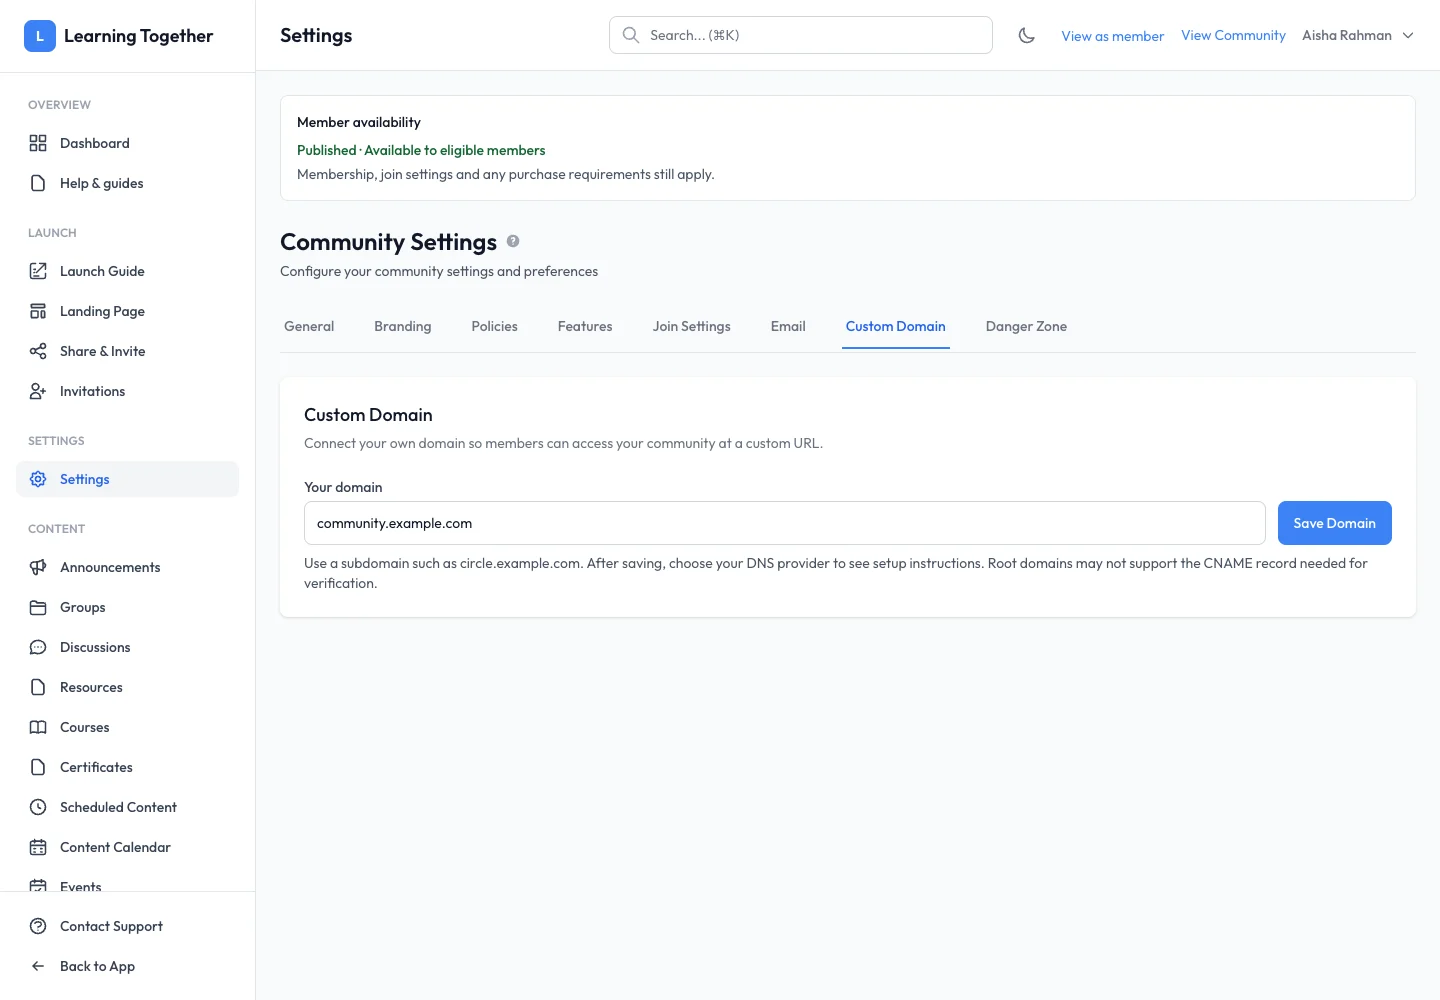
Go to Settings → Custom Domain. Enter your domain in Your domain, without a page path. Select Save Domain.
2. Follow the generated DNS instructions
Read the record names, types and destinations shown after saving. Add them at your DNS provider exactly as displayed. Do not copy a screenshot’s sample destination into your live DNS.
3. Check verification
Allow time for the DNS change, then use the verification action shown on the tab. Read the resulting status rather than repeatedly changing the records. Keep a copy of the values you entered for comparison if verification fails.
4. Visit the domain
When the connection is active, open the address in a fresh browser. Check the community page, sign-in return path and a member page. Account-wide pages and Help & guides may open on the main Recqa domain.
Expected result
The domain reaches the intended community and its verification status is active. The regular Recqa address remains useful while you troubleshoot setup.
Troubleshooting
- Verification remains pending: compare the displayed DNS requirements with the provider’s actual records, including the host name.
- Wrong community loads: confirm the domain saved on this community and remove conflicting DNS records only after checking their purpose.
- HTTPS not ready yet: wait for activation and contact support if the status does not progress.
- Custom Domain unavailable: check your plan entitlement with the owner.