
Resources are standalone items members can browse without following a course curriculum. Choose the type that matches the material you want to share.
Before you start
Enable Resources and open management with resource permission. Prepare the content and confirm you have permission to share any uploaded media.
Steps
1. Choose a resource type
Open Resources → Create Resource. Select Notes, Video, Audio, File, Link or Quiz. The fields below change to match your selection.
2. Set the audience and description
Choose Group, or leave Community-wide (no group) for content available across the community. Add a useful Title, Description and Tags. A title such as “My weekly learning reflection” is easier to find than “Document 1”.
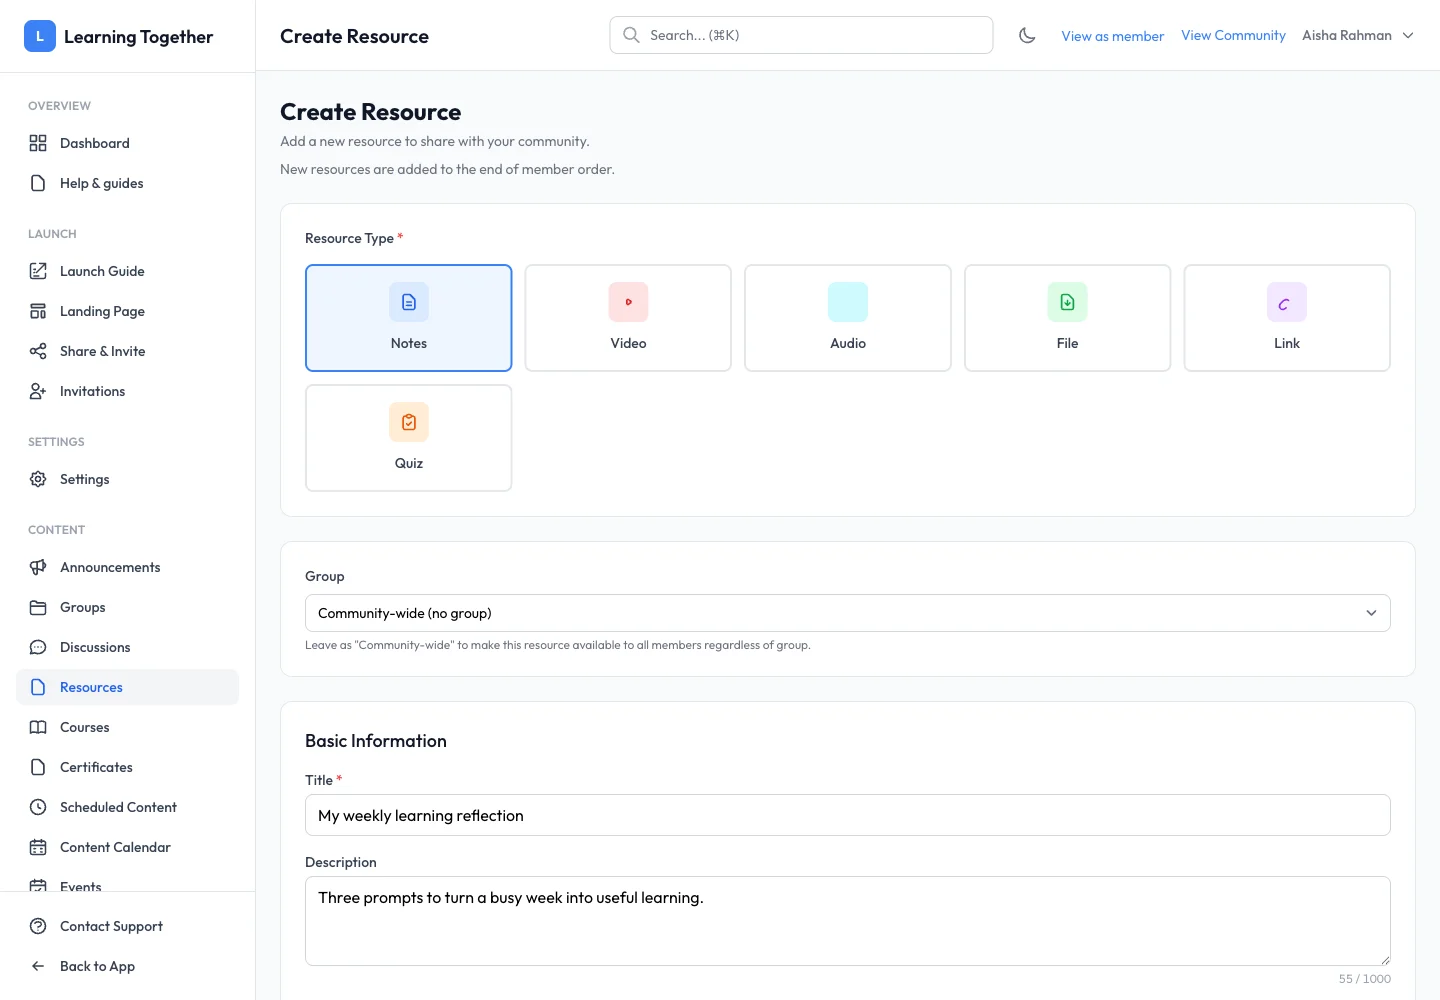
3. Add the content
For Notes, write the content in the editor. For a File, upload the document. For Video, choose the supported link or upload option shown. For Audio, add the audio and transcript where available. For Link, enter the destination. For Quiz, build questions and answers using its controls. Follow the type-specific limits shown in the form.
4. Review access and publication
If appropriate and available, enable This is a paid resource and review its price and currency. Choose Draft, Schedule or Publish now, then select Create Resource. A schedule needs a future date/time.
5. Organise and verify
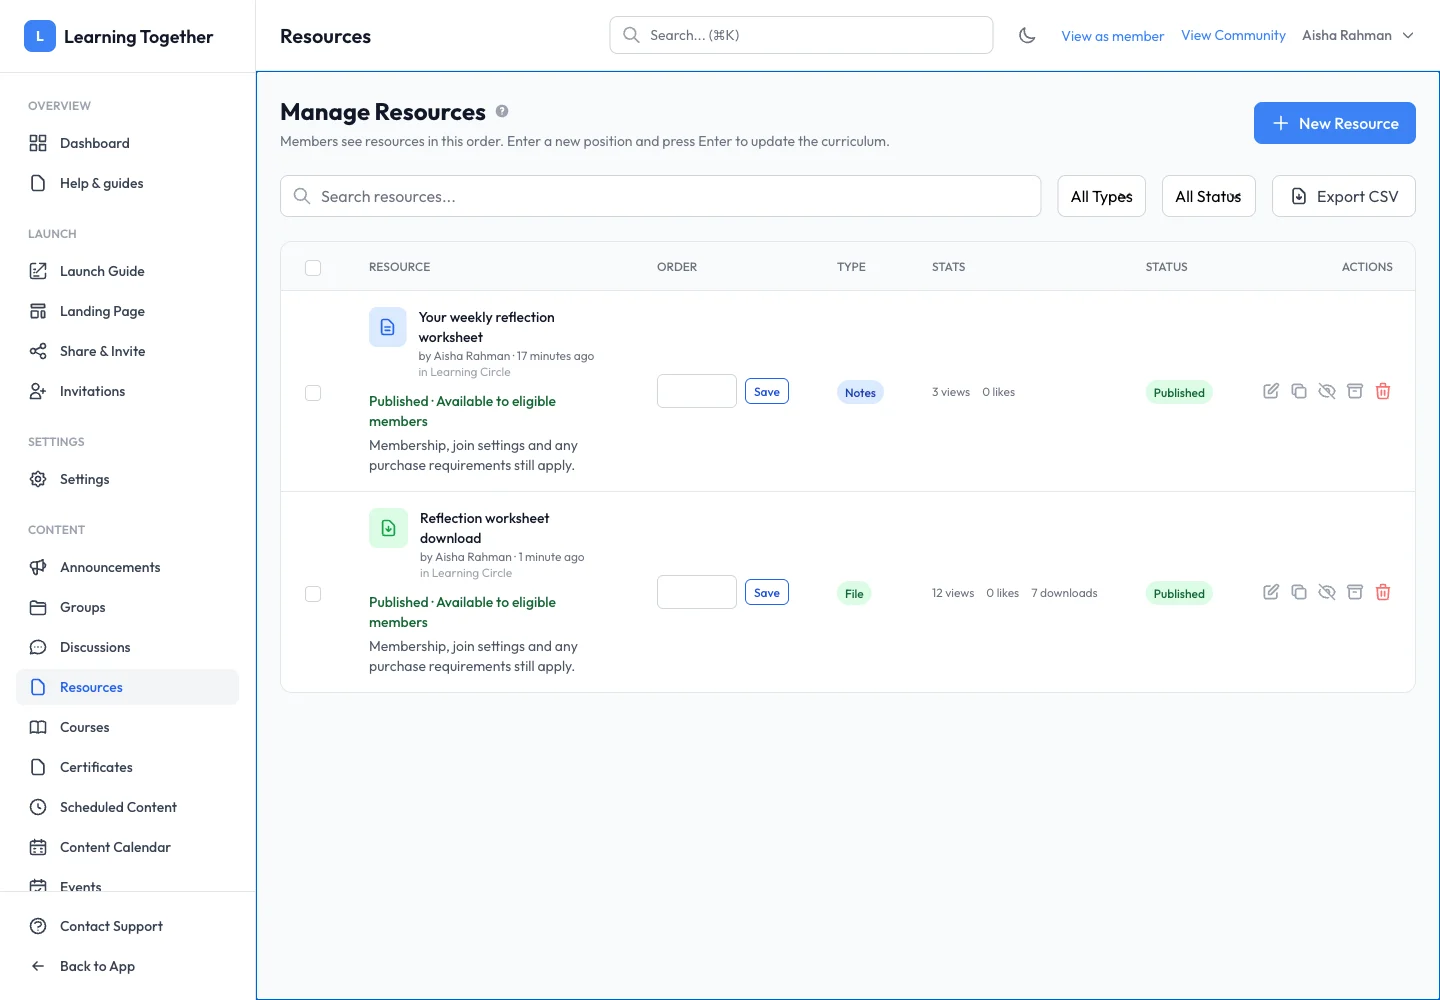
Return to Manage Resources. Use the member-order controls where shown and save the position. Open the item as a member of its selected scope and verify the content, file or destination.
Expected result
A resource appears in the intended audience’s library when published and accessible. Its content opens correctly.
Troubleshooting
- Upload rejected: check supported format, file size and the owner’s storage allowance.
- Resource absent for a member: check group membership, publication and paid access.
- Wrong resource type: review the type before saving; use the edit screen’s supported controls.
- Broken external link: open the destination in a fresh browser and verify its sharing permissions.