
Import Members creates invitations. It does not silently add people to a community or create accounts without their participation.
Before you start
Use a list of people who agreed to hear from you and with whom you have the relationship described by the consent statement. Prepare a CSV with an email column or a plain list of email addresses.
Steps
1. Open Import Members
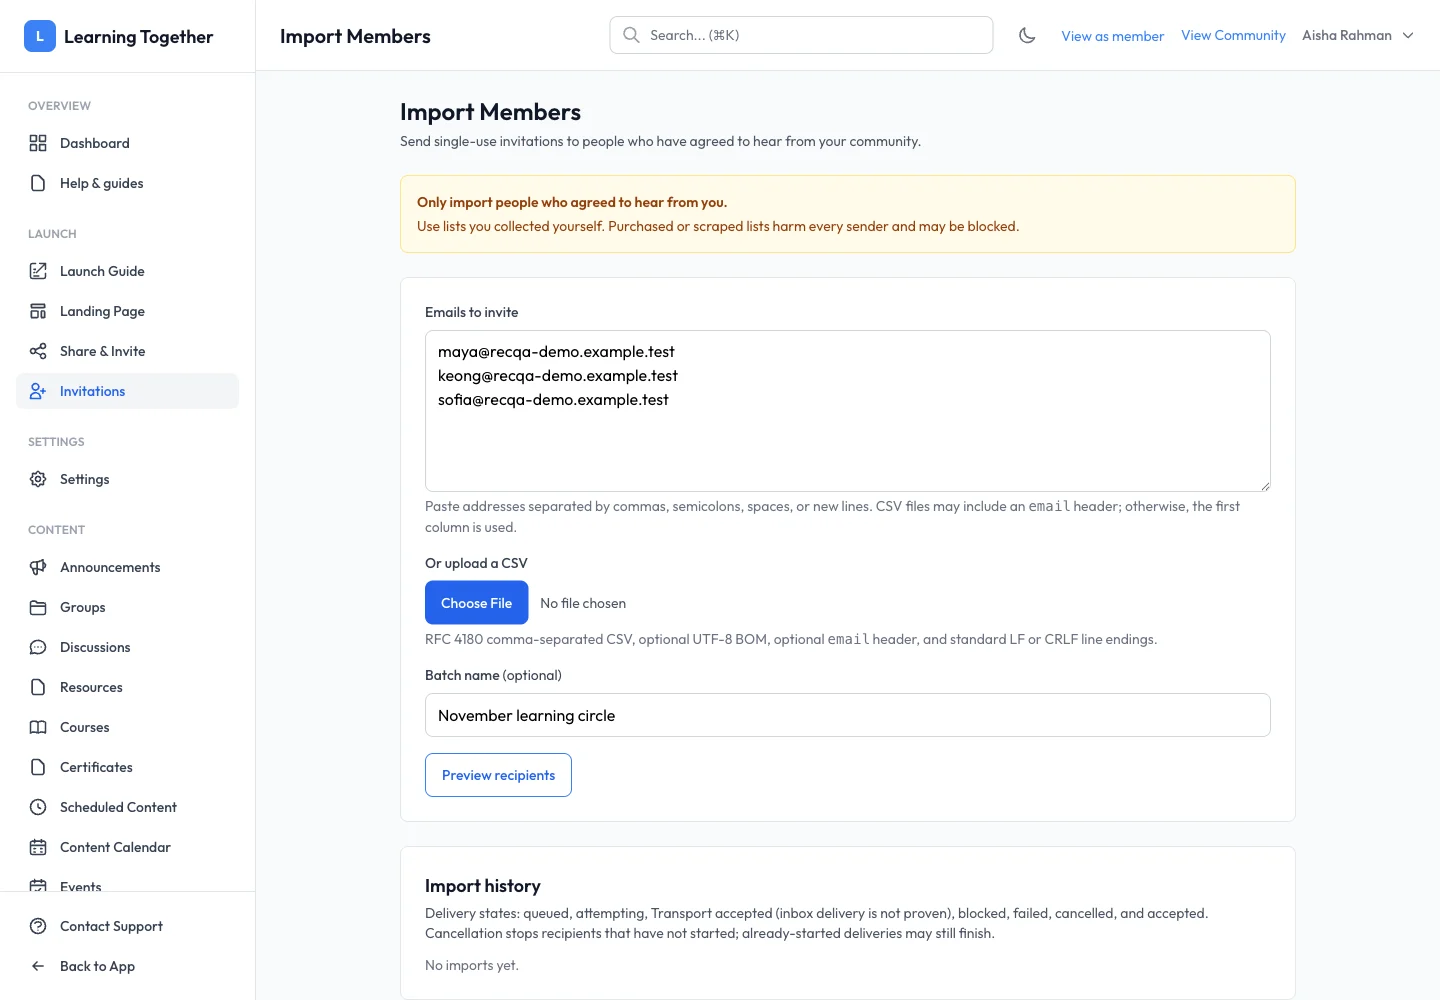
Go to Invitations → Import Members. Paste addresses into Emails to invite, separated by commas, semicolons, spaces or new lines. Alternatively, upload the CSV. If no email header is present, the first column is used.
2. Name the batch
Enter a useful Batch name, such as “November learning circle”. This makes later delivery checks easier when several people manage invitations.
3. Preview recipients
Select Preview recipients. Read the counts and any invalid, duplicate or ineligible addresses. Correct the source list and preview again if needed. A larger count is not a reason to include people who did not consent.
4. Confirm the consent statement
Read and confirm the statement only when it is true for the recipients. Continue to the confirmation dialog, review its sendable count and confirm the import.
5. Follow delivery progress
Use Import history to review the batch. Queued means waiting to send. Transport accepted means the mail provider accepted the message; it does not prove arrival in the recipient’s inbox. Cancellation can stop work that has not started, so review the status before relying on it.
Expected result
A named batch appears in history. Recipients receive individual invitations they can choose to accept.
Troubleshooting
- CSV addresses are not recognised: add an
emailheader or put email in the first column. - Fewer sendable recipients than rows: inspect duplicates and validation results.
- Accepted but not received: ask the recipient to check spam and verify the address; delivery acceptance is not inbox confirmation.
- Import cannot be confirmed: review consent and remaining validation errors.